
Creation #
Here’s how to create a Business:
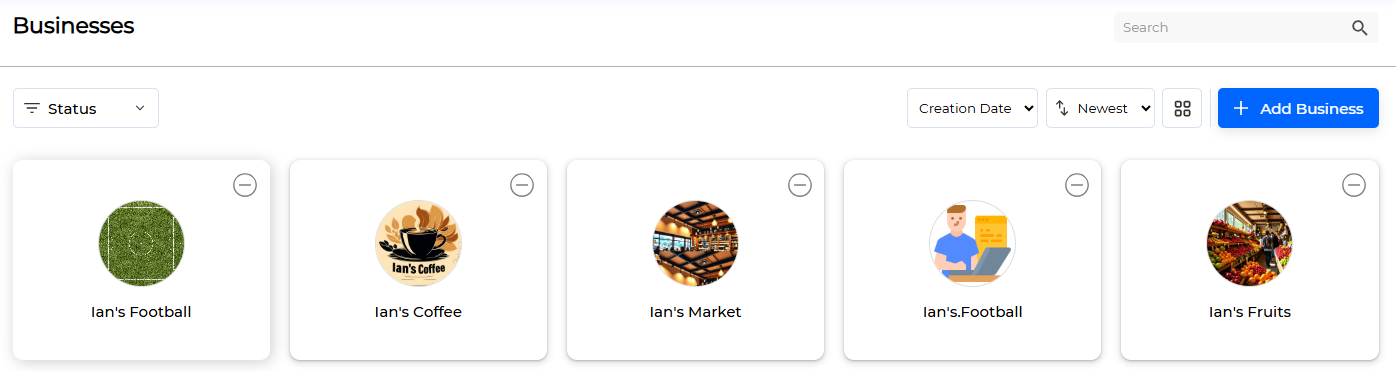
- Go to Settings > Businesses and click the [ Add Business ] button.
- Enter the Business name in the picture below and click the [ Save ] button.
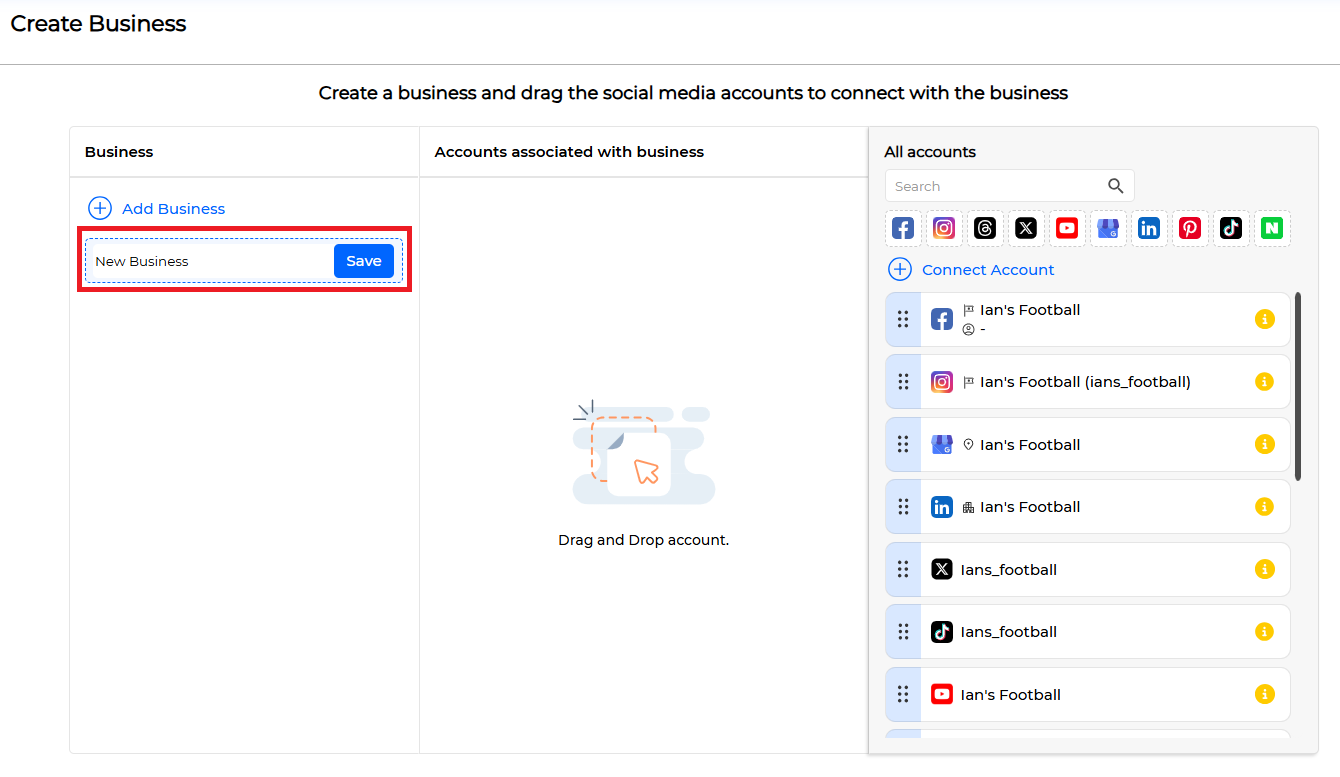
- If there are no social media accounts you want to connect to the Business, click the [ Save ] button to complete the creation.
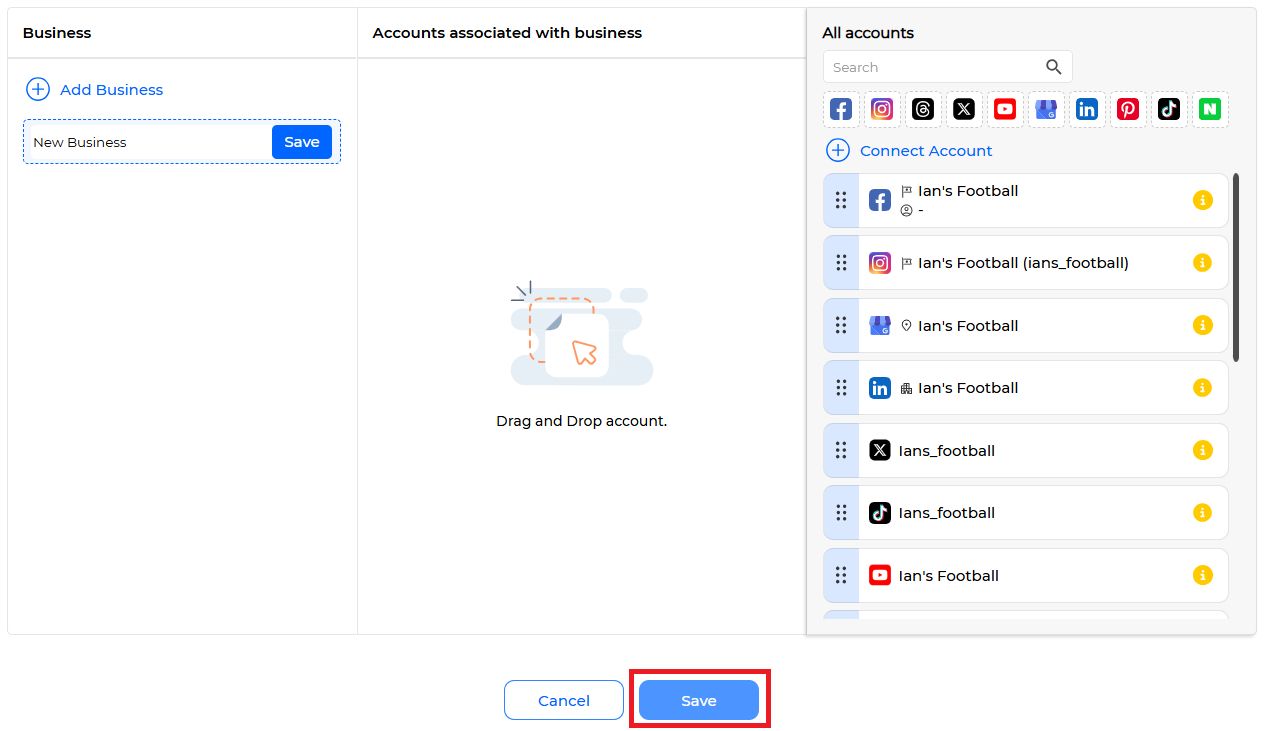
- (Optional) If you want to connect social media to the Business, drag and drop the social media linked to LikeIT Social in the picture below.
Note #
You can create multiple Businesses at once by clicking the [ Add Business ] button when registering a Business.
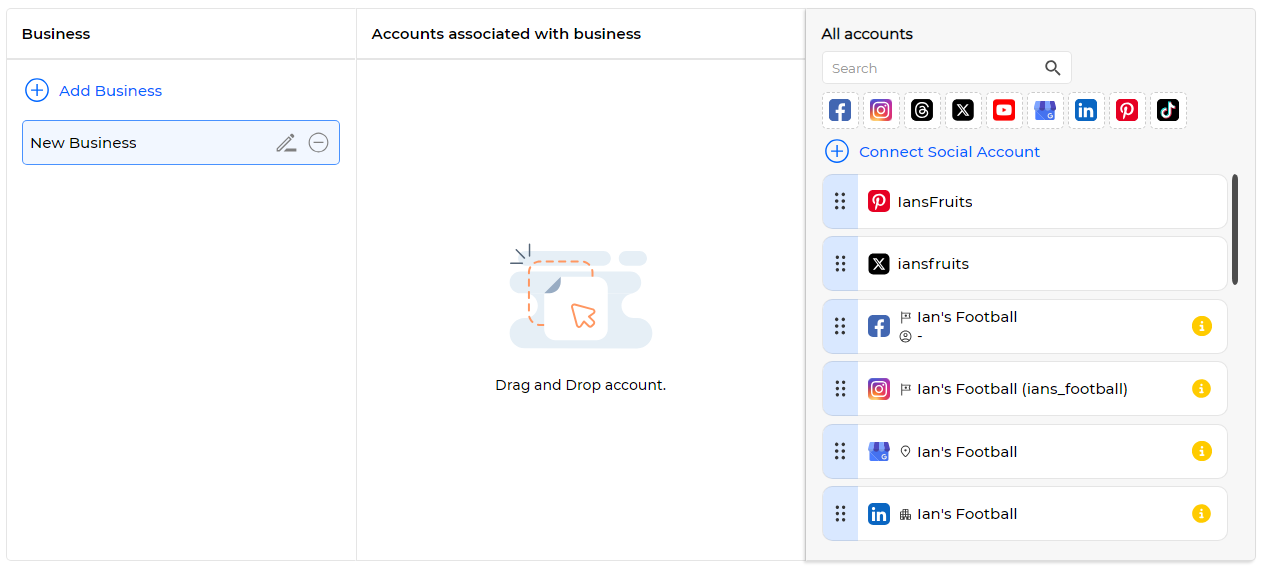
If a social media account is already connected to another Business, it will be displayed in the picture below, and if you connect it to a new Business, the connection with the existing Business will be disconnected.

If you want to link a new social media to LikeIT Social, click the [ Connect Social Account ] button. Clicking the button will take you to Social Connect, and you can proceed with social media linking in that menu, and click the back button or [ Return to previous page ] button to return to the Business registration screen.
Business Profile Management #
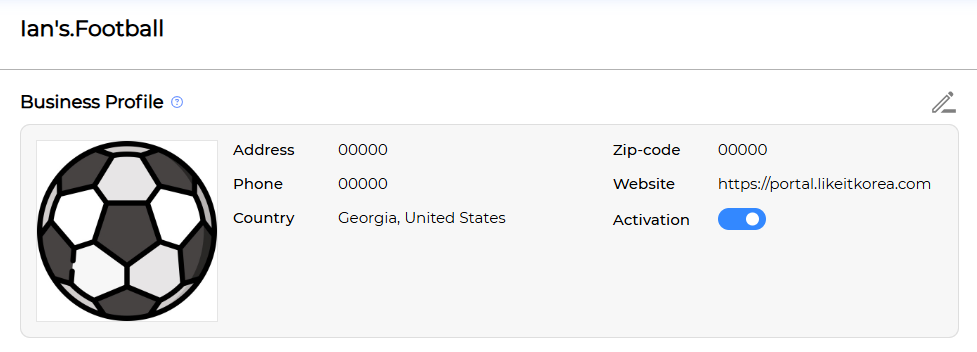
Click the Business you want to manage from the list to the Business Profile screen.
On the Business Profile screen, you can check various information related to the Business, and the information you can check is as follows:
- You can check the basic information related to the Business. You can manage the business status by clicking the Activation button.
- If there is a Contract connected to the Business, you can check the basic information of the Contract. To modify the contents of the Contract, click the modification icon to go to the Contract Edit screen.

- You can check the list of social media accounts or pages connected to the Business.

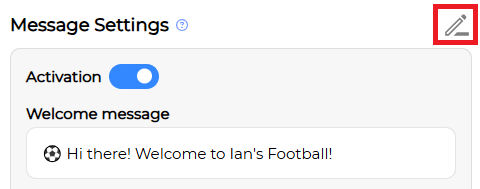
- You can check the message setting information set for the Business. Click the modification icon to modify and register message responses on the Social Inbox – Settings screen. You can manage the message response function status by clicking the Activation button.
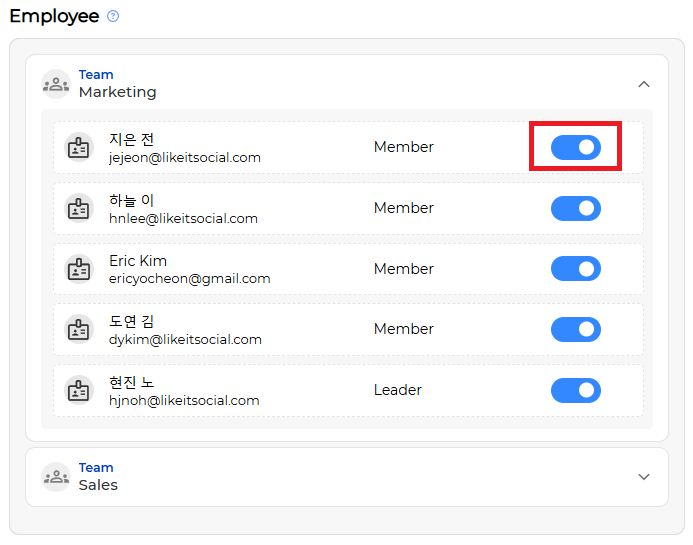
- You can check the list of Teams or Employees managing the Business. You can check whether each Employee belonging to the Team manages the Business in the picture below.
Modification #
Here’s how to modify a Business:
- Click the modification icon.

- Enter the information to be modified.
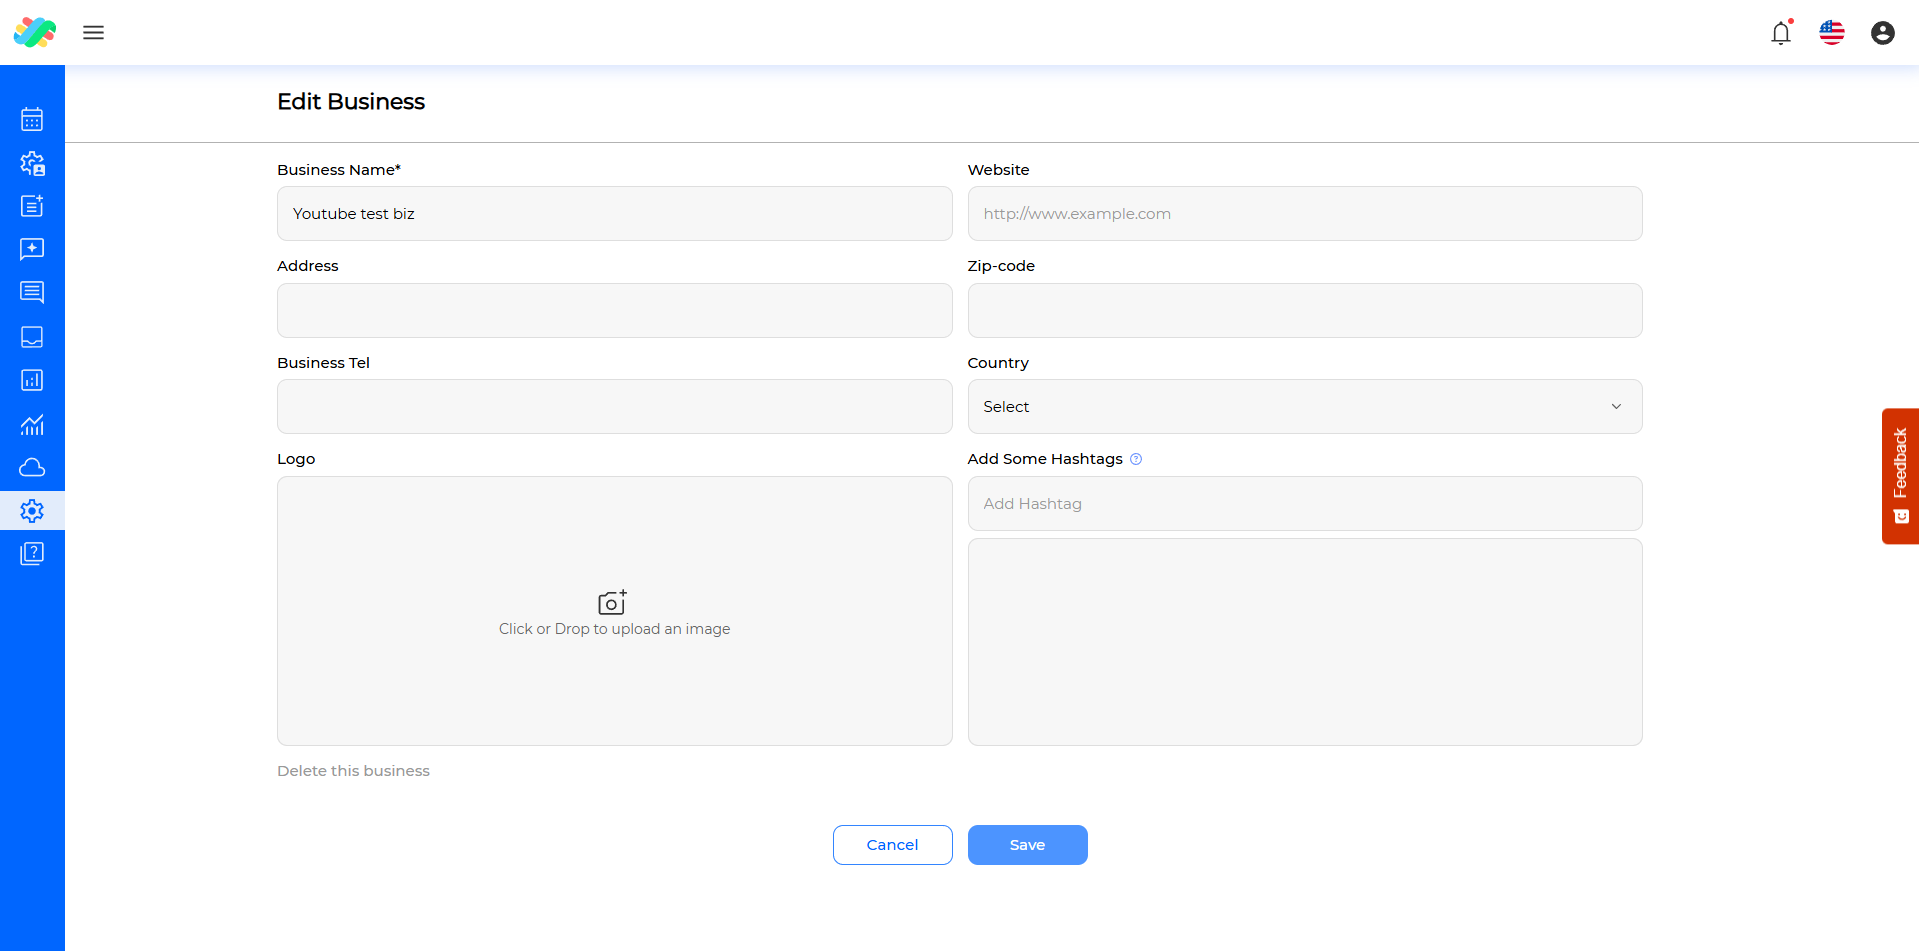
- (Required) Business Name
- Website
- Address
- Zip-code
- Business Tel
- Country
- (Optional) State
- Logo
- Hashtags
- Click the [ Save ] button.
- ✅ Done
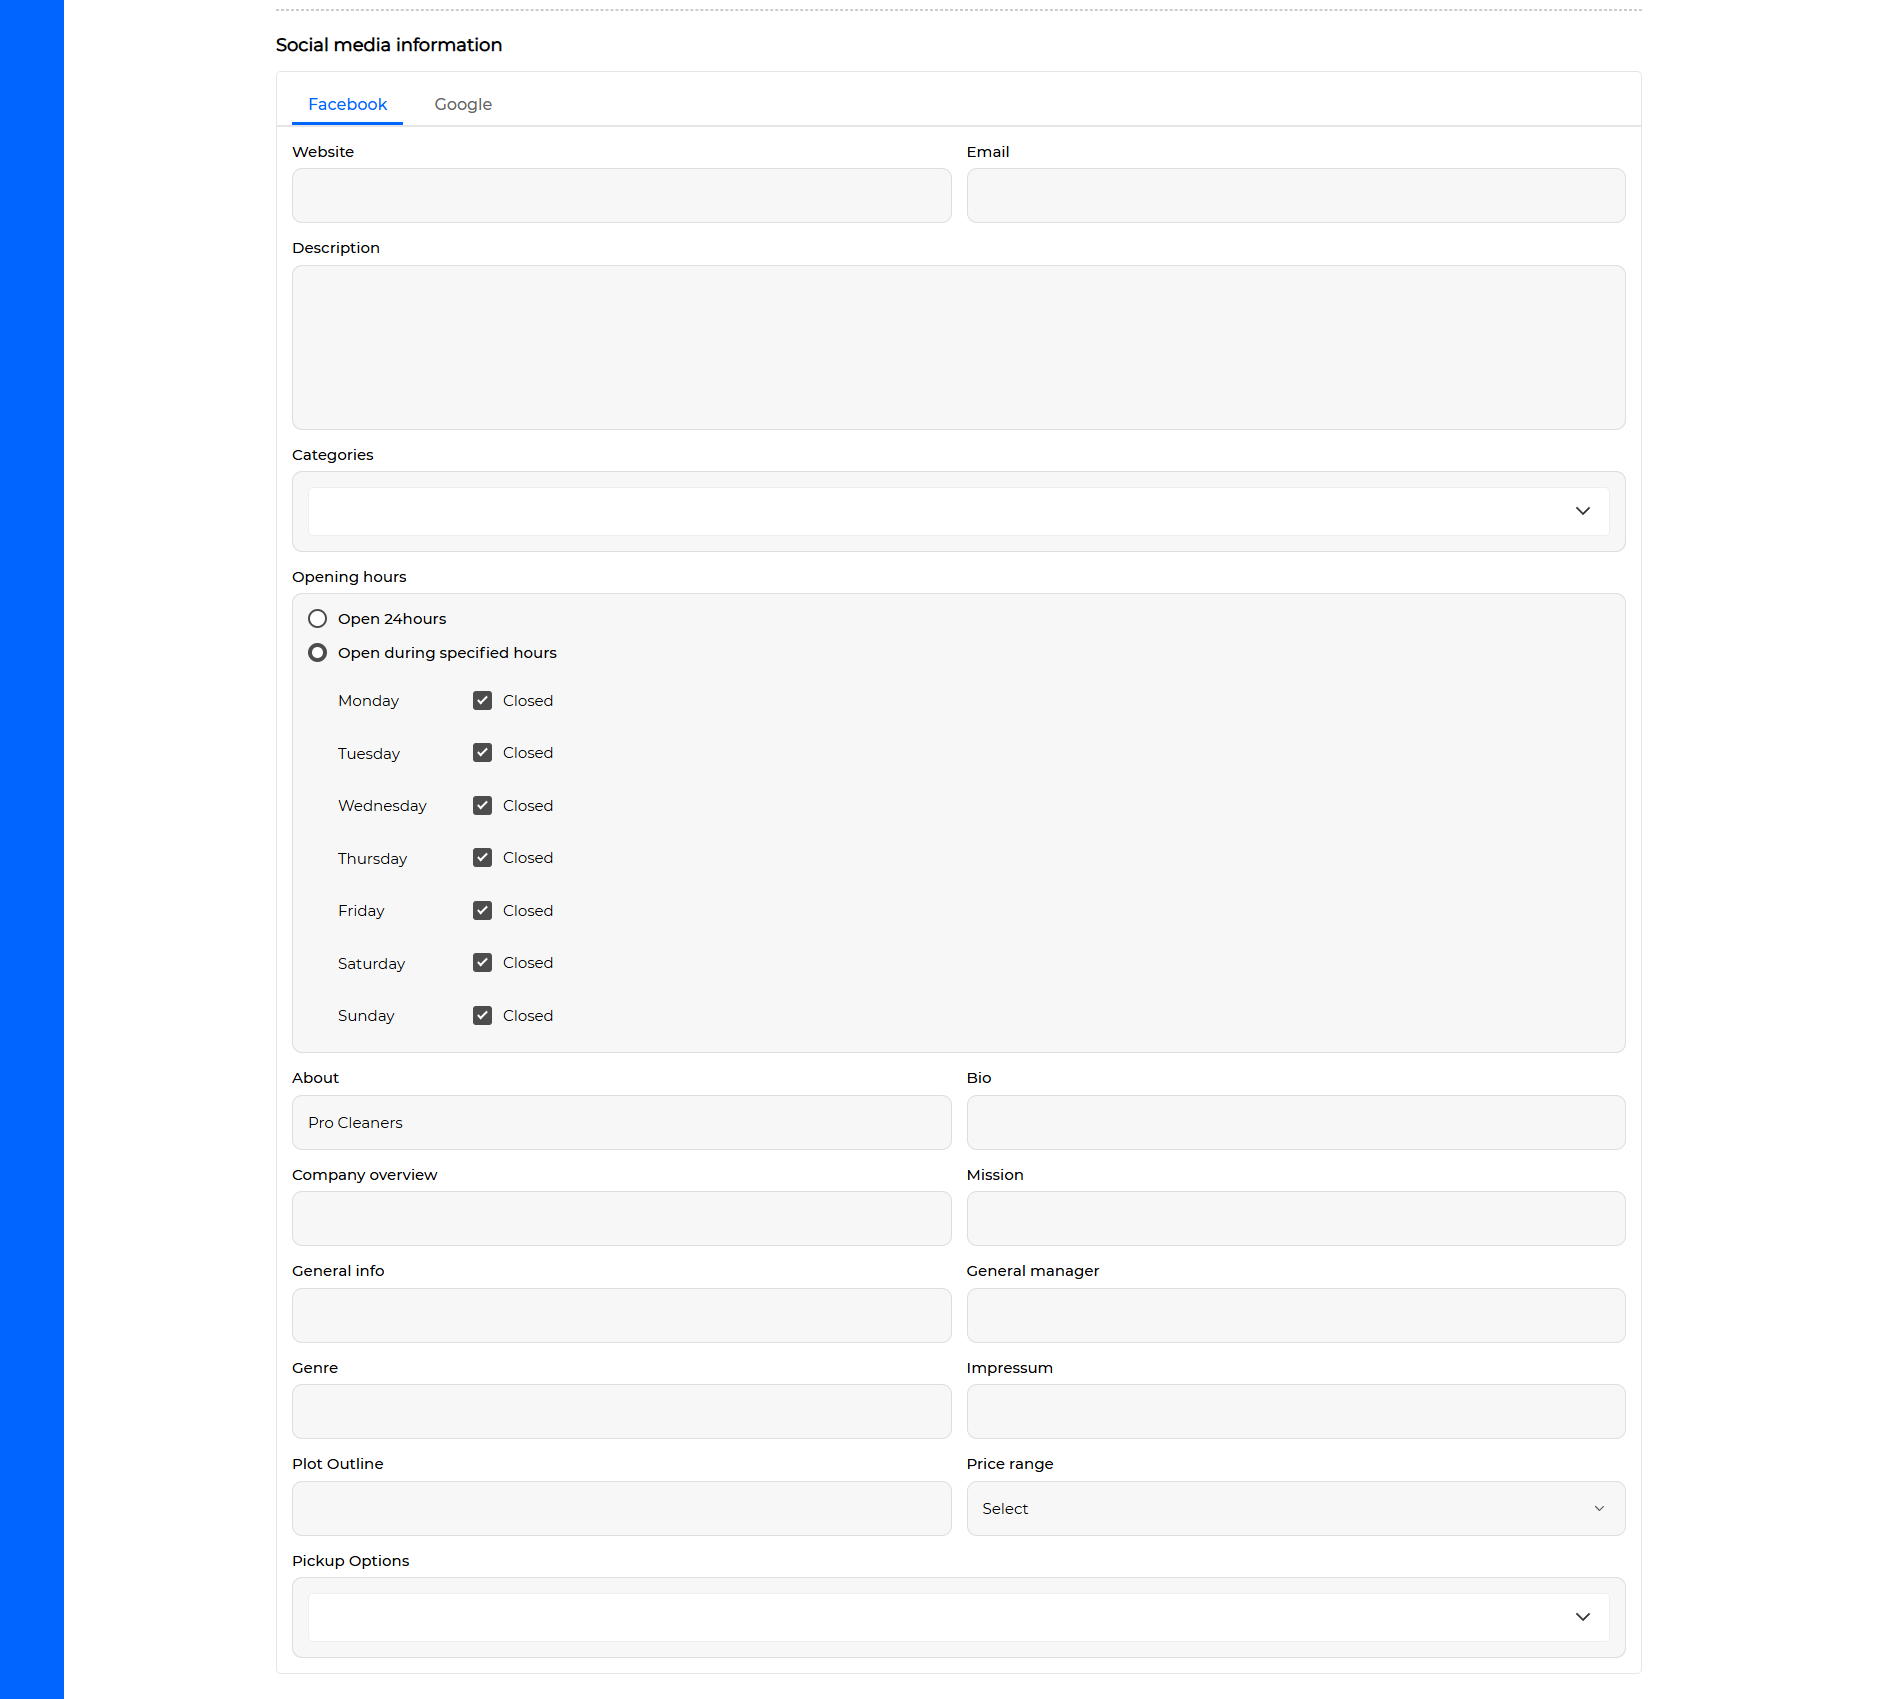
Edit social media business information #
If Facebook or Google Business Profile Manager is connected to the Business, a screen where you can modify the information of the Facebook Page or Google Business Profile Manager will be displayed in the picture below. You can easily modify the Facebook Page or Google Business Profile Manager information from this screen without having to move directly.
Deletion #
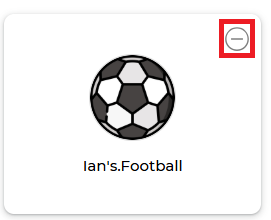
- You can delete it by clicking the delete icon of the Business to be deleted from the Business list.
- You can delete it by clicking the [ Delete this business ] button at the bottom left of the Edit Business screen.
Note #
When deleting a Business, various related information is also deleted, and the information is as follows:
- Among the posts written in LikeIT Social, the information for posts using the social media connected to the deleted Business will be deleted.
- The social media connection information of the Business you want to delete is deleted. These social media can be reconnected to a new Business.
- The connection information with the Employee or Team managing the Business you want to delete is deleted.
Message Settings #
Message settings are a feature that helps manage messages received from social media connected to a business. Users can use convenience features such as automatic replies or welcome messages for messages from social media using the message setting function of the Business.
To go to the Business message settings screen, click the message settings modification icon on the Business profile screen in the picture below.

The Business message settings screen you have moved to is in the picture below. On this screen, you can set the following:
- Welcome message
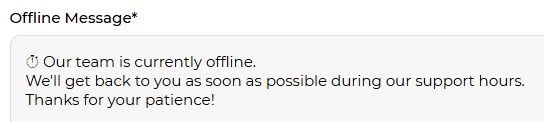
- Offline message
- Time settings
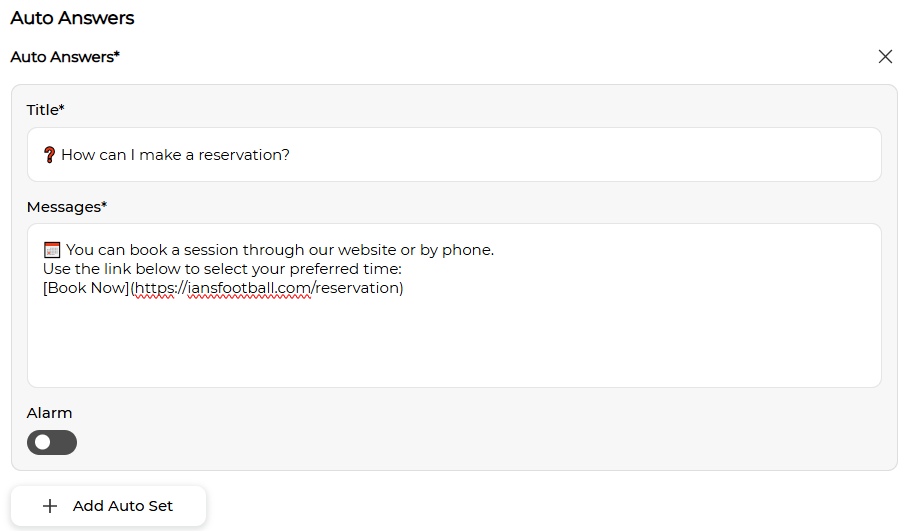
- Automatic response
Welcome message settings enter the message content to be automatically delivered when a message is received for the first time on social media. For welcome messages, the first time is considered based on 24 hours.

Offline message settings enter the message content to be delivered when a message is received on social media and the time is not business hours according to the time settings below.
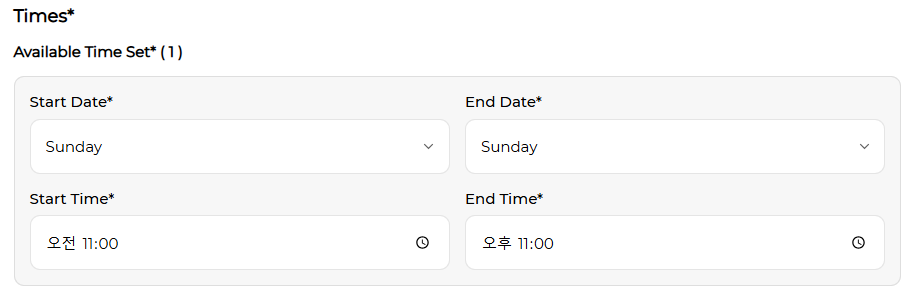
Time settings allow you to set business hours for the Business. Welcome messages or offline messages are delivered through this setting.
Automatic response settings send pre-set questions when a social media message is received. When a user clicks on these questions, the messages to be sent for each question are automatically delivered.