

Creating a Post #
Here’s how to create a post:
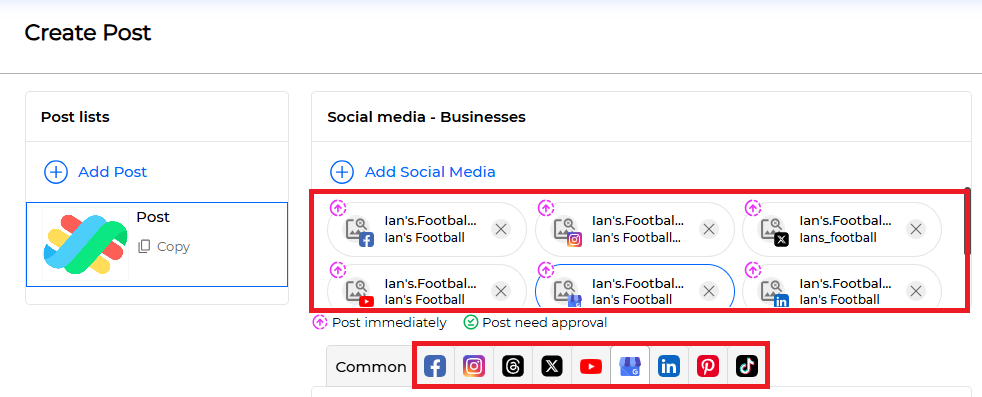
- Click the [ Add Post ] button to the Create Post screen.
- Enter the Post Name in the Common tab.
After completing this step, you can click the [ Draft ] button to save. - Click the [ Add Social Media ] button.
- When the Choose Social Media Business screen appears, select the social media accounts you want to post to and click the [ Save ] button.
- (Optional) In the Media of the Common tab, click the add icon, and when the Choose Media screen appears, select the media to post.

How to select and manage media on the Choose Media screen - (Optional) Enter the content to be posted and hashtags.
This will apply commonly to the selected social media and can be changed for each social media.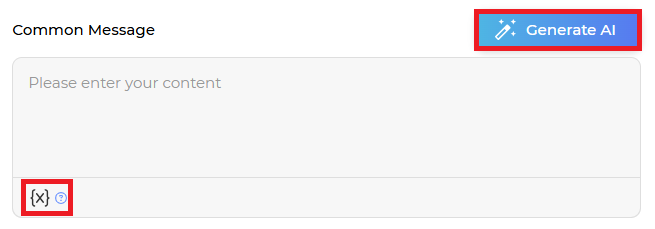
- Generate AI: This feature automatically generates post messages and hashtags using AI based on the business information you enter.
- Reserved Keywords Settings: You can use reserved words to automatically retrieve specific fixed information when writing a post.
- Select whether to schedule the post. (Default: Post immediately)
- (Optional) Select whether to Request approval.

The request approval feature may not be available depending on the selected plan. - Click each social media account or select the social media tab to configure detailed settings.
Here’s how to configure detailed settings for each social media: - Click the [ Draft ] or [ Publish ] button.
- ✅ Done
Generate AI #
This is a feature where AI automatically generates post content and hashtags based on simple information (business name, topic, target) that the user inputs. You can create a draft post with a single click without needing to write complex text, and the generated phrases are editable so users can easily modify them after the AI’s recommendations.
The results vary depending on the input values (business name, topic, target, etc.), allowing for the creation of diverse content.
Here’s how to use AI generation:
- Click the [ Generate AI ] button.
- When the AI Post Settings screen appears, enter the required information.
- (Required) Business Name
- (Required) Topic: Enter as a simple word or sentence.
- (Required) Target
- Click the [ Generate AI ] button below.
- Check the generated AI message and hash tags, and click.
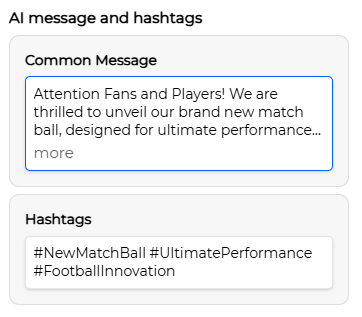
- Click the [ Apply ] button to apply.
- ✅ Done
Reserved Keywords Settings #
This is a feature that allows you to automatically insert predefined business information when creating a post. The system automatically fills in the content without having to manually edit each post.
Here’s how to use reserved keywords:
- Click the {X} button.

- When the Reserved Keywords screen appears, select the reserved keyword to insert.
- Business Name: Inserts the name of the selected business.
- Business Tel → Inserts the phone number of the selected business.
- Social Name → Inserts the social media page name connected to the selected business.
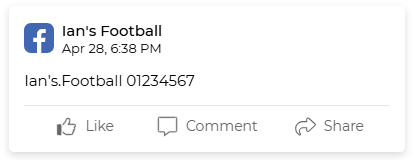
- The reserved keyword is inserted as shown below.

- Click each social media platform to check the applied content.
Caution #
If there is information that is not set, a blank value will be entered.
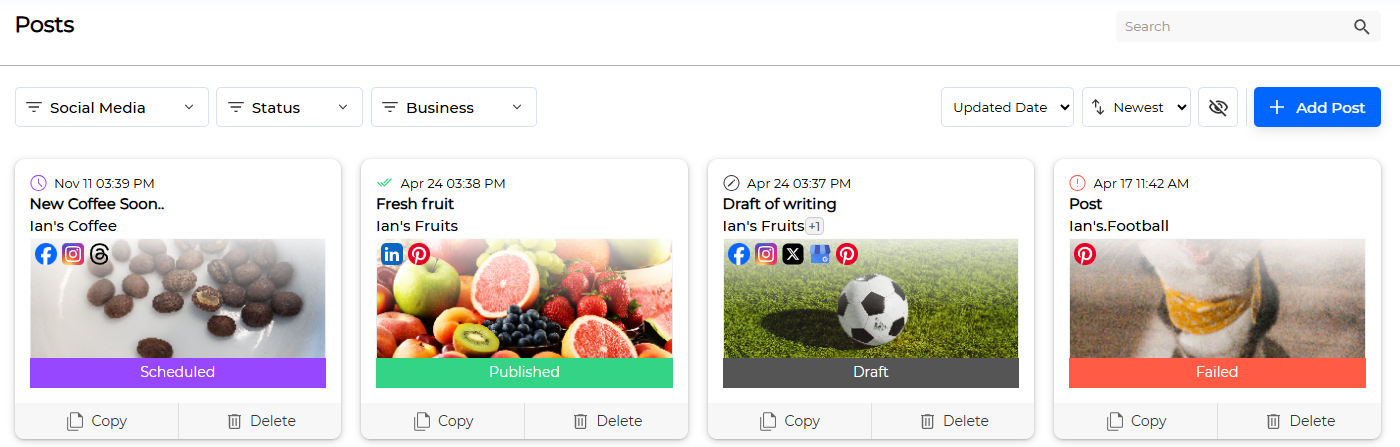
Post Verification #
Post verification is only possible for posts in Published, Failed, Partial, Deleted, or In Progress status.
Here’s how to verify posts:
- Click the post you want to verify.
- Go to the Post Result screen and check the post results.
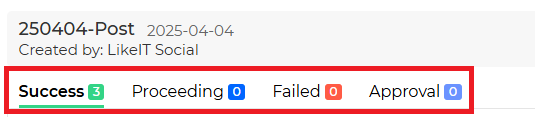
- Post Result Check: Check the post results for each social media by clicking the tabs below.
- Go to Post: Click the shortcut button below.

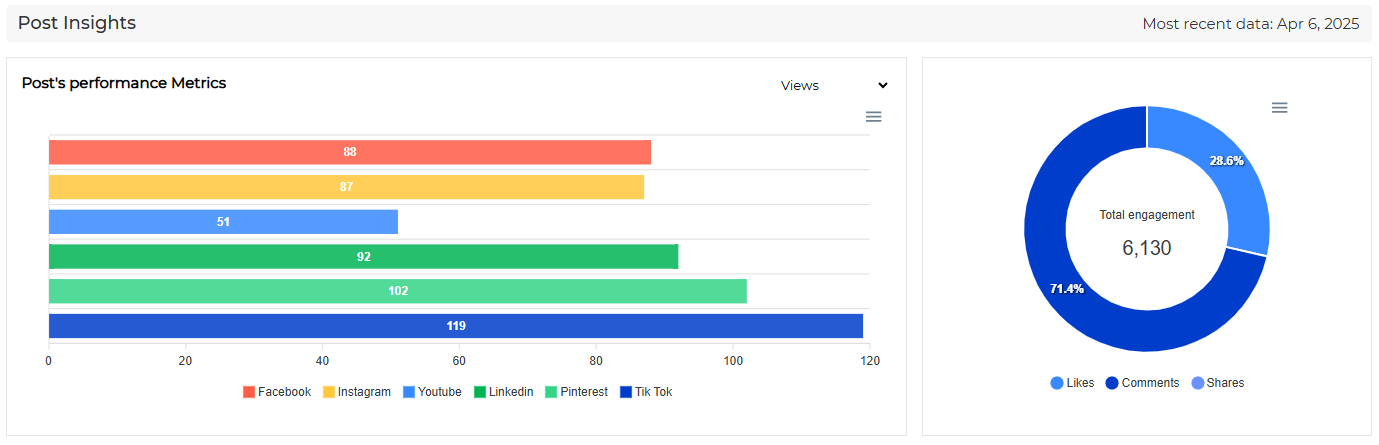
- Check Post Insights: Check the statistics for each social media post in Post Insights.
- Post Result Check: Check the post results for each social media by clicking the tabs below.
Post Republish #
If there are failed posts, you can republish them by clicking the [ Re-Publish ] button on the Post Result screen. Only failed posts will be retried.
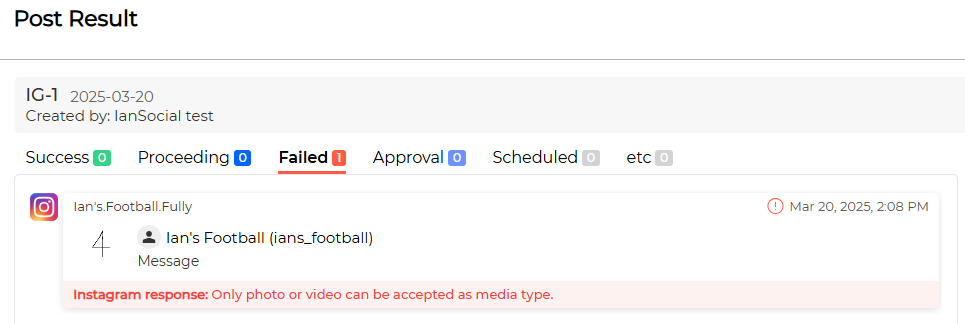
Check the reason for failure in the Failed tab.
Post Deletion #
There are two ways to delete a post: deleting the Post unit in LikeIT Social and deleting only the post published on the actual social media.
The method to delete a Post in LikeIT Social is as follows:
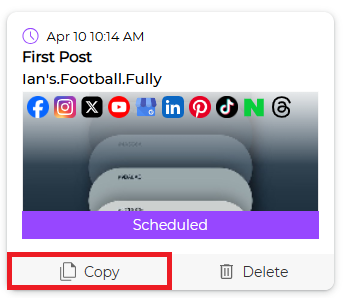
- Click the [ Delete ] button of the post you want to delete in Posts. Or go to the Post Result screen and click the [ Delete this post ] button at the bottom left.
- When the warning window below appears, check Delete forever and click the [ Ok ] button.
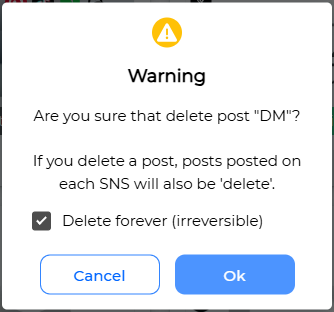
If the status is not Published or Partially Deleted, only permanent deletion is possible. - When the Post in LikeIT Social is deleted, the post on the actual social media is also deleted.
- ✅ Done
The method to delete only the post on social media is as follows:
- Click the post you want to delete and go to the Post Result screen.
- Select the social media post you want to delete.
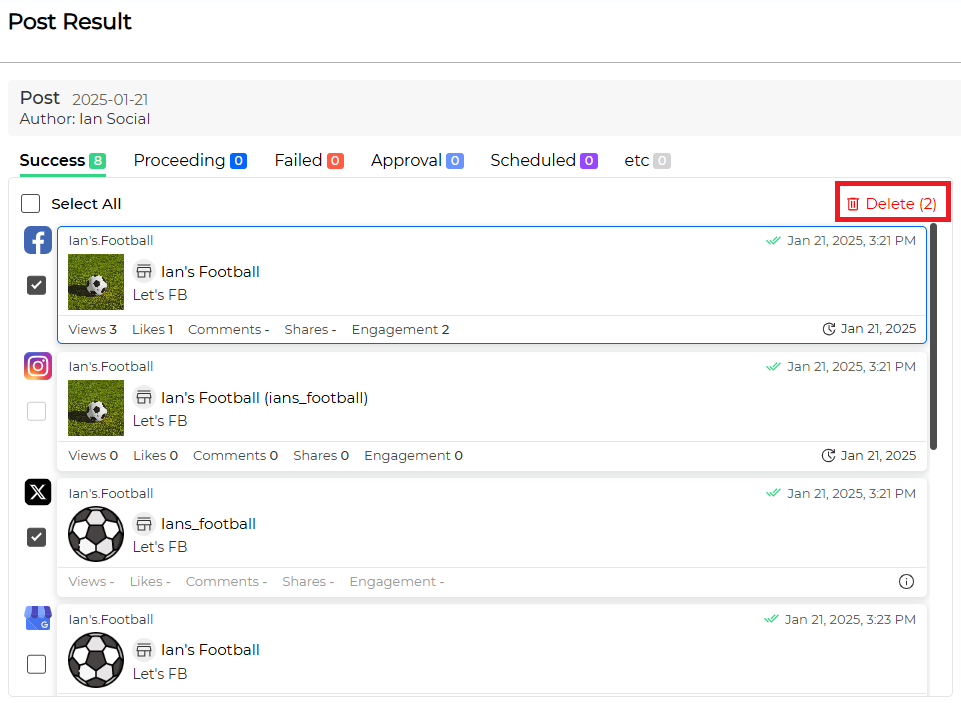
- Click the [ Delete ] button on the top right.
- ✅ Done
Caution #
Instagram, YouTube, and TikTok do not support post deletion. Please go to each social media platform and delete the post directly.